
|
The original 3/8" chainplate
eyebolts. |

|
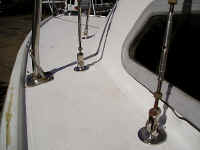
The new 1/2" chainplate eyebolts
with backing plates, installed in exactly the same position and
direction as the original ones above. (Apr. 17, 2004) This is precisely
the wrong way to install them!
|
|
While here to assemble and install my new
roller-furler yesterday, sailmaker Josh Bevins immediately noticed
that I'd incorrectly installed the chainplate eyebolts 90° off, so I
removed and corrected their direction. The bottom turnbuckle
clevis pins must run forward-aft: the middle eyebolts on port and
starboard side that hold the upper shrouds should run parallel with the
boat's center line. The other two on each side should be at a slight
angle: the tops of each eyebolt should point directly at the mast.
The turnbuckles thus can pivot on the lower clevis pins in and out
toward the mast. (May 8, 2004) |
|
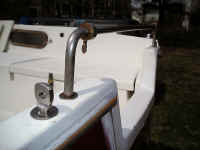
The first step in upgrading the
original backstay required adding a new eyebolt on the transom.
(Apr. 17, 2004) |
|
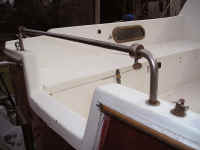
On the lower right is the original
off-center 3/8" backstay eyebolt; across on the left behind the
traveler is the new 1/2" addition. I lucked out when I drilled a
pilot hole and found the brass plate (beats "winning the brass
ring"!) beneath the fiberglass, so I only had to drill and tap
instead of wrestling from beneath to thru-bolt it. I've left all the
hardware bedded in the 3M 4200 sealant just a bit more than finger-tight
today, and tomorrow will crank it all down tight. (More
on installing the eyebolt and cockpit access covers)
|
|
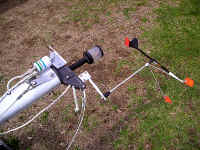
This morning, after tightening down
all the hardware I installed yesterday into the 3M sealant, I first
reinstalled my VHF antenna, then installed a new Davis universal
masthead mount for my Windex wind direction indicator. (Apr. 18,
2004)
Close-up detail
-- Closer-up
detail |
|
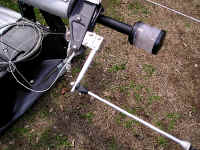
The way I mounted
it last season likely contributed to if not caused the masthead
failure, so I found a better way. Using the brackets that came with
the Davis kit, I drilled and tapped two 10/24 holes into the top of the
masthead aft of the halyard sheaves. |
|
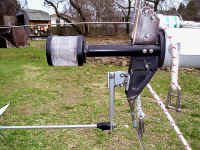
Using the two universal brackets that were included in
the Davis kit, I attached one to the masthead using the two holes I'd
drilled/tapped. I cut down the extension bar after checking for clearance with
the VHF antenna, then flattened and drilled the end that accepts the
Windex rod. Once everything was mounted in place, I adjusted the Davis
extension bar to horizontal.
Close-up detail
|

|
Here's a closer-up look at how the
Windex is fastened to the masthead.
|
|
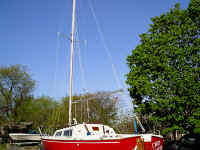
The Harken 252 Lazy Jack and topping
lift project
completed. (May 9, 2004)
(I subsequently moved the aft lazy jacks
lines further back
on the boom.) Go
to Adding a
Harken Lazy Jack System
|
| NEXT |
| It's never-ending ...
but spring is in the air at last, the projects have begun! |