|
|

Chip Ford's 1974 Catalina 22
Restoration Project
Sail #3282 l Marblehead, Massachusetts |
|
The never-ending project to fill my hole in
the ocean while bailing it out
Preparing for Sailing Season 2011
Revisiting the Cribboards Project
- Page 2 -
|
|
Click thumbnails for larger photos |
|
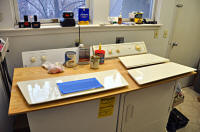
Today I
lightly wet-sanded the exterior surfaces (and discovered that by mistake
I'm doing the interior side of middle cribboard, not its
exterior -- it can get confusing!) and edges with 400 grit
wet-and-dry paper. As long as I had them on my lap, I lightly sanded the
backsides as well. (I think they're going to require only one coat of
fresh paint.)
|
 |
|
|
CLICK TO
ENLARGE |
|
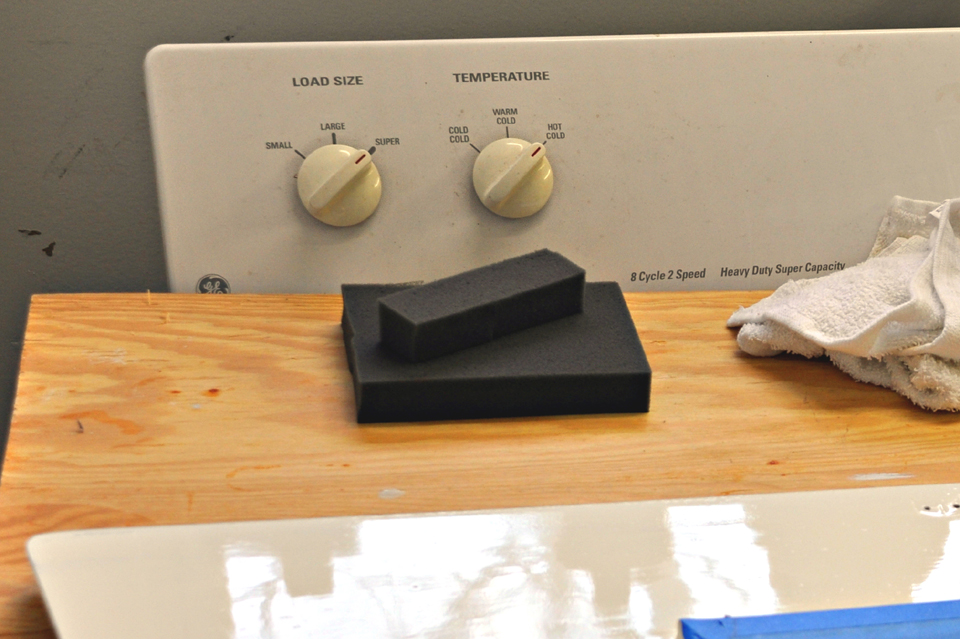
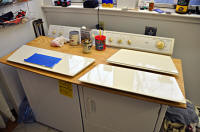
Before I
started this morning, I looked around for something softer than the
small scrap pieces of wood I'd been using to lift the cribboards off the
plywood "workbench" so I can paint their edges. I've learned the hard way that when
pieces like these are flipped to paint the reverse sides, the paint or
varnish is still not fully cured and the wood pieces will likely leave a
slight imprint. I found a remnant of packing foam, decided this should
work perfectly. (Mar. 13, 2011) |
 |
 |
 |
 |
 |
 |
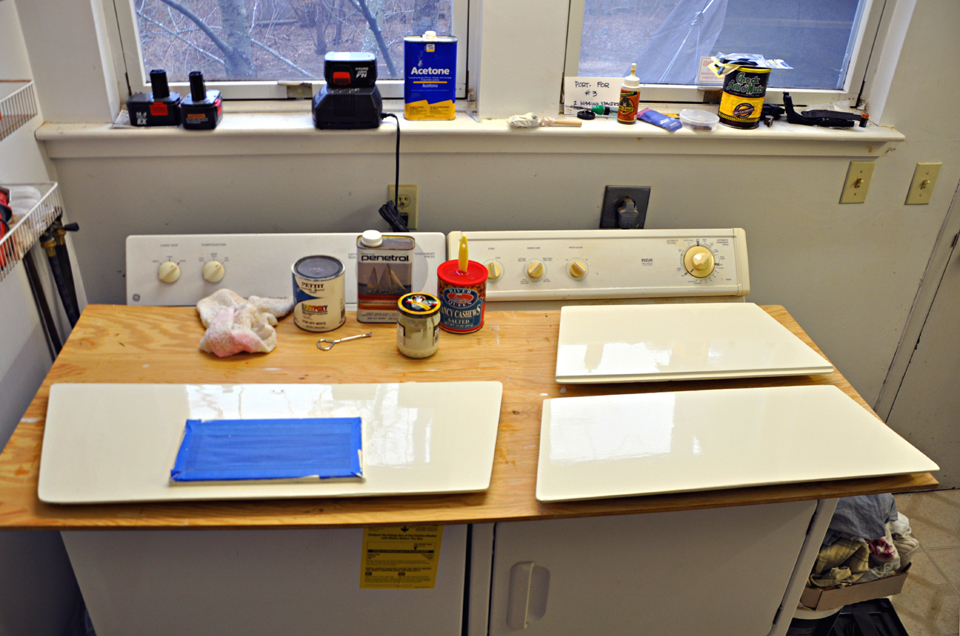
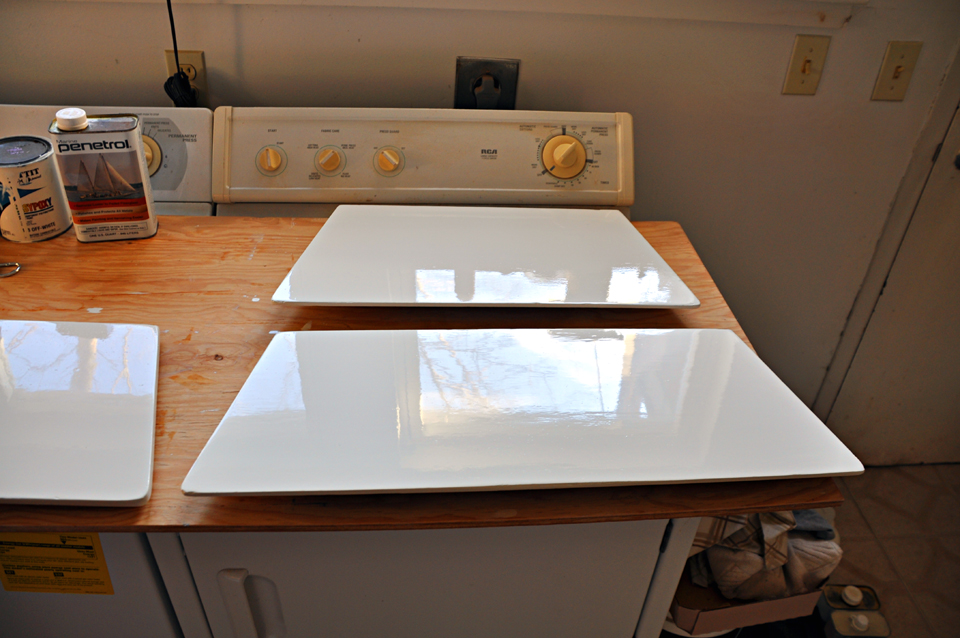
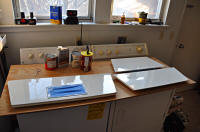
Okay, these
sides of the cribboards are done, ready to be flipped. Thanks to the
wet-sanding between coats and especially due to the great flow from
adding Penetrol to the final coat of paint, the finish is close to glass
smooth, almost mirror-like. Onward with their backsides. (Mar. 14,
2011) |
 |
 |
|
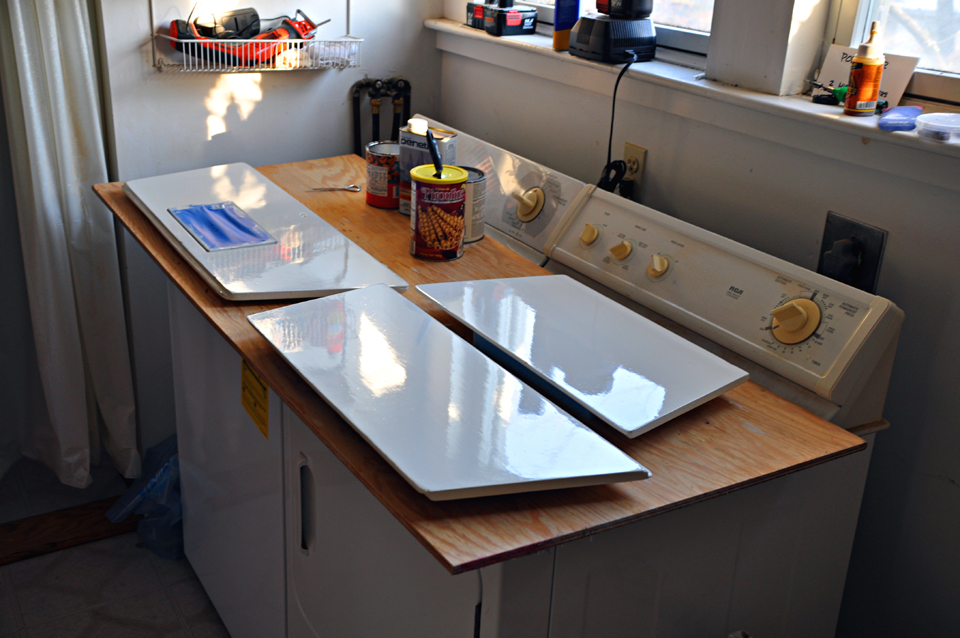
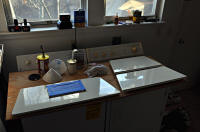
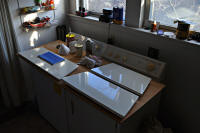
Two coats on
the backsides later with wet-sanding between, I'm almost done. I bought
a new brush yesterday, mixed a small amount of fresh paint/Penetrol, but
I'm still not completely satisfied with the outcome. I found a couple of
small dry spots along the edges and the flow's not quite there yet. I'll
wet-sand with 400 grit again and apply one last coat. Note:
Better photo color with natural light than with the overhead florescent
lights on! (Mar. 17, 2011) |
 |
 |
 |
 |
Admittedly I've become obsessive/compulsive over this little indoor
winter project -- I must have needed another or bigger one, or spring's arrival
today has taken too long coming! Yesterday I wet-sanded the three cribboards, both sides, again; first with 220 then with 400 grit.
Besides a couple of dry spots, I discovered runs on their backsides --
ugly drips. When I went to apply this latest coat of paint/Penetrol, I
discovered that the 7-year old paint had finally skinned over in the
can; shaking had broken it up into globs and particles. I strained it as
best I could with a stick, but not good enough. I'll pick up some paint
strainers (or a fresh can of paint) today before doing the other sides. Life is sometimes difficult
for a perfectionist. (Mar. 20, 2011.) |
 |
 |
|
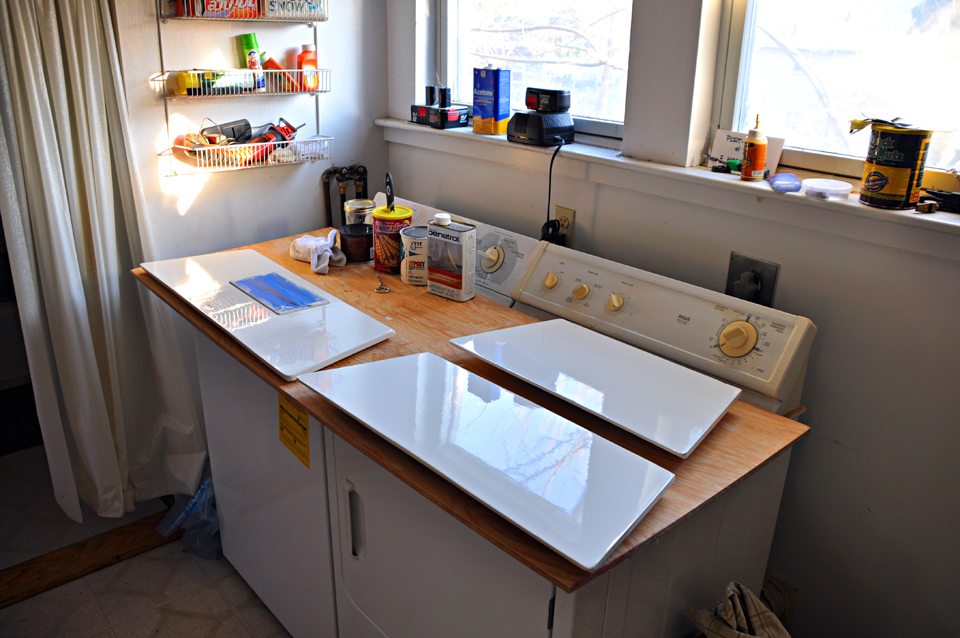
After
straining the paint through a paper filter into an empty Mason jar
yesterday and mixing in some Penetrol, I flipped the pieces over and
applied a coat to the previously sanded front sides. This time the
finish came out as I was hoping, without the particles and with good
flow. The cribboards refinishing is done. Once the paint has a few days
to dry thoroughly I'll move on to refinishing the varnish on the top
cribboard's teak vent, and the sliding hatch's teak eyebrow. (Mar.
21, 2011) |
 |
 |
 |
 |
 |
 |
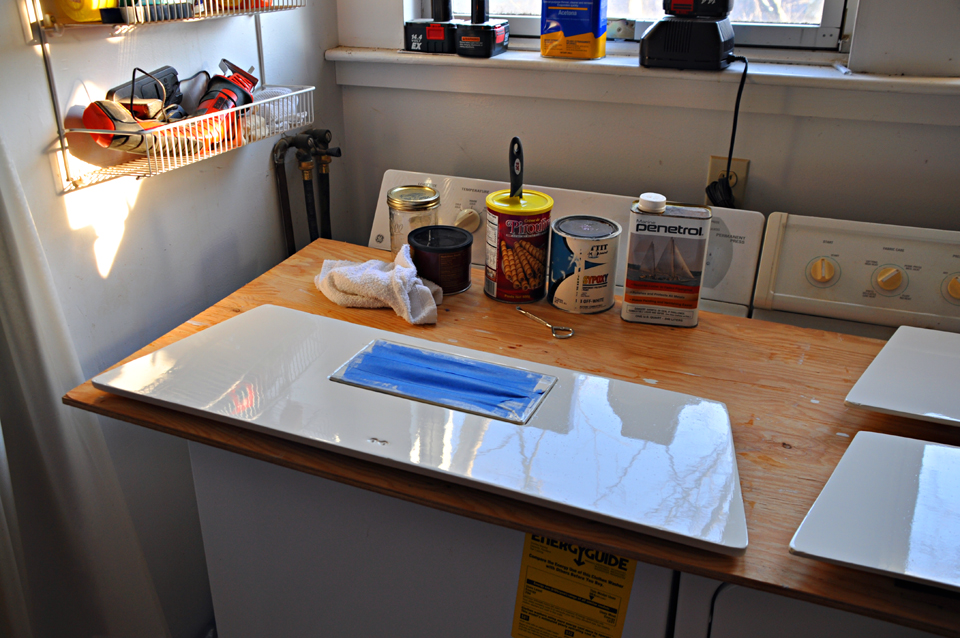
To eliminate
so many dust/paint particles in the finish of the top cribboard,
yesterday I first hand-compounded then polished both sides. (3M super duty rubbing
compound, #5954; Cyclo Industries No. 7 white polishing compound,
#7610). The result was so smooth that today I'll do the same to the
lower two. After the paint's had a few weeks to cure, they'll get a coat
of wax. The Exacto knife's at the ready to remove the masking tape from
the teak vent at last. (Mar. 27, 2011) |
|
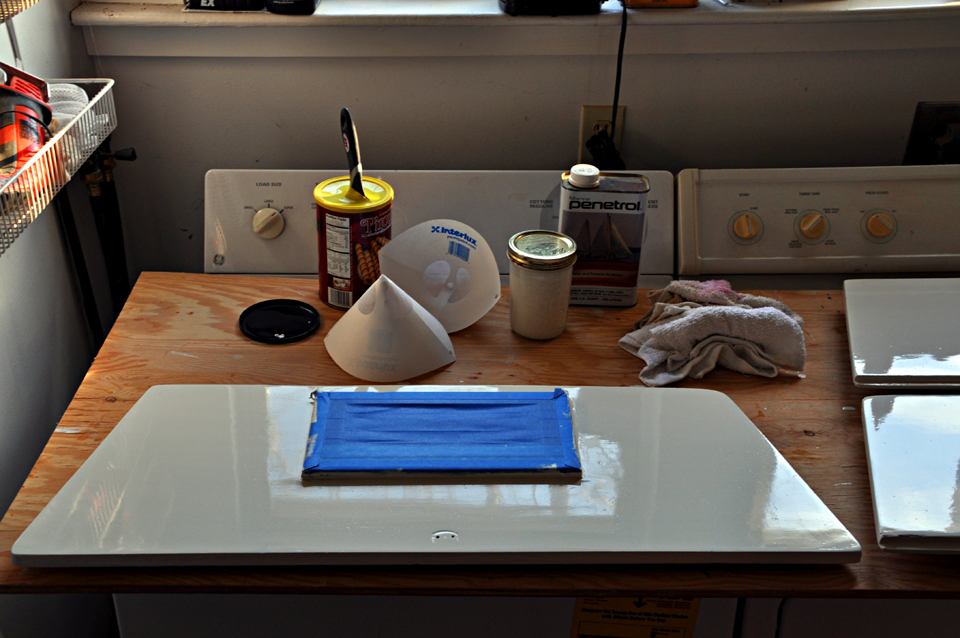
Getting the
masking tape off the edges of the louvered vent where it joins the
cribboard was a challenge even with the Exacto knife. A lot of paint had
flowed into the groove over the tape. In a few days I'll mask around the
teak vent, lightly wet-sand it, and apply a coat or two of fresh varnish
to it and the sliding hatch's teak eyebrow.
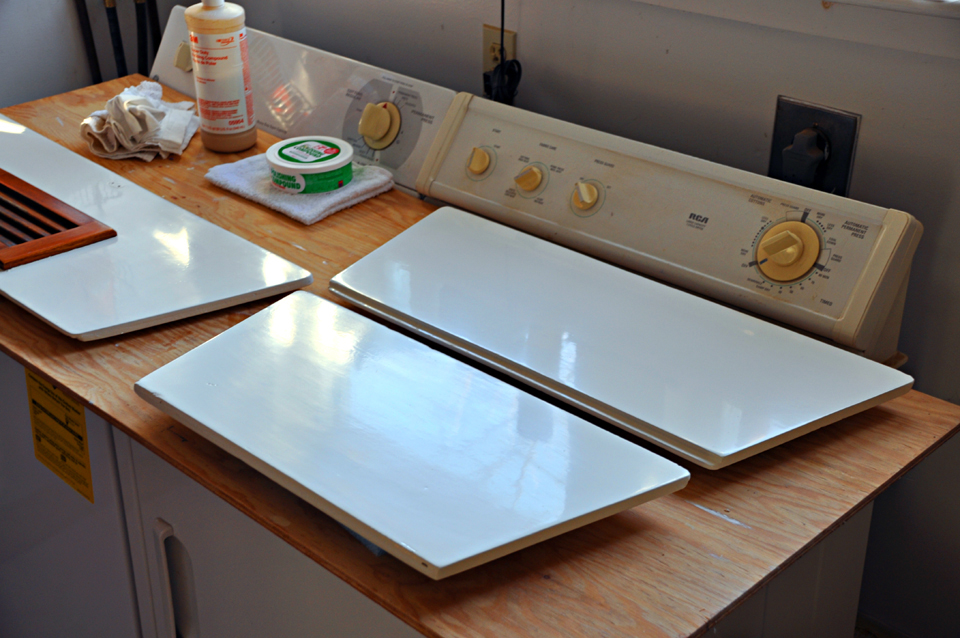
Yesterday's hand-rubbing of the bottom two cribboards
made a big difference. Though the compound and polish diminished the
high gloss along with the minute dust particles, I'm confident the shine
will return even better after waxing in a week or two, after the paint
fully cures.
All this obsessive attention will probably be for little
after the first time I remove and toss them below into the cabin -- but
it's satisfying to complete the project with perfection, at least near
to it. (Mar. 28, 2011) |
 |
 |
 |
 |
|
Back to Page 1
| | NEXT |
|
Refinishing the Cabin
Shelf Trim |
|
Moving on
with Season 2011 improvements |
|
It's never-ending ... bring on Sailing Season 2011! |
|

|