|
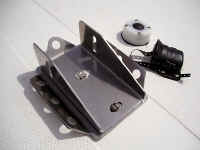
First, I replaced the old-style mast step with the
new-style step and halyard plate. (Apr. 17, 2004)
|
|
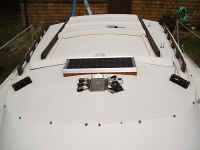
Next, I attached the blocks to the halyard plate and
installed the port and starboard deck organizers. (May 2, 2004)
|
|
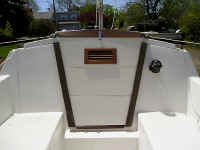
After raising the mast, I led the jib
(port) and main (starboard) halyards aft along the deck between the
hatch cover and the hand rails. (May 8,
2004)
|
|
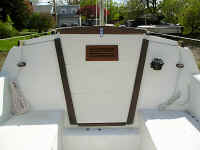
Then I installed the first two cockpit cam cleats; port side for the jib halyard, starboard side for the main
halyard.
|
|
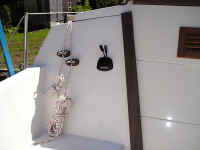
The port side cam cleats for the new
single-line reefing system line (inboard) and jib halyard (outboard).
The cockpit mount for the new Humminbird Piranha Max15 fishfinder is
alongside the companionway. (May 29)
|
|
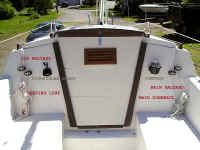
The new main halyard (outboard) and
main downhaul (inboard) lines and cam cleats are on the starboard
side bulkhead. The new boom vang
is visible above the companionway.
(After discovering that lines and
halyards were wearing grooves through the fiberglass where they turned
down from the cabin top to the cam cleats, in 2005 I added
stainless steel rub strakes along
the edges of the cabin top.) |
|
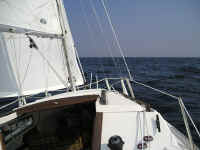
Subsequently, I added cleats to the
starboard (photo left) and port (photo below) sides of the cabin
bulkhead on which to hang coiled lines and halyards when not in use
(see above). |
|
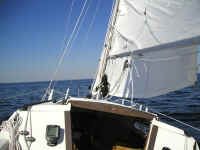
After installing the Furlex
roller-furling system, I added its blocks to the stanchions to lead
the furling-line aft, and a cleat to the portside deck, parallel to just
behind the cabin bulkhead (not visible in this photo), to tie it off.
|
 |
Addendum: Last season
(2004), after completing the above
All Lines Led Aft
project, a new problem developed: the lines coming back to the cockpit
were wearing grooves in the fiberglass where they turned over the cabin top
edge. Once I recognizes this, I took
precautions when hauling in on them to minimize the wear, but recognized
that a better and permanent solution was needed. Wally Riddle ("Carpe Diem")
offered one after stopping by the other day: stainless steel rub strakes
he saw advertised by West Marine. I bought a pair and installed them
today. (Apr. 29, 2005) |
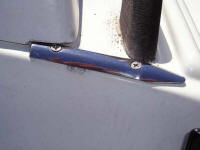 |
The rub strakes come in various lengths and widths; the smallest was 3/4"X 8" so I cut
my pair down to about 5" and drilled a new hole in each. Next I filed
out the corners of the pop top just enough to close over the rub strakes,
then sealed and fastened each one. |
 |
The cabin top is now protected where the lines (main
halyard and main downhaul on the starboard side) turn over its edge and
down to the cam cleats. |
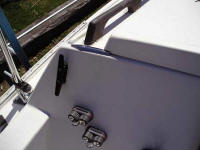 |
I likewise added the second rub strake to the port side
to protect where the single-line reefing line and jib halyard turn over
the cabin top. |
 |
In the spring of 2007 I added a pair of Spinlock XAS/2
power clutches to replace the need for the cockpit cam cleats and
makeshift rub strakes. This was a great improvement, though it
required cutting down the handrails.
See:
The Rope Clutches Project |
Related Projects:
The Furler Installation
Reefing Setup
Options |
| Moving on
with Season 2004 improvements |
| It's never-ending ...
but spring has arrived at last, the projects have begun! |