 |
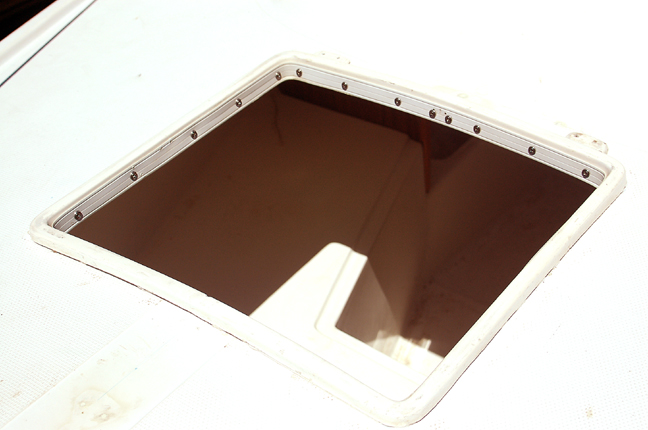
This morning I sealed the deck around
my new hole with 3M 4200, then also sealed the edge of the hatch frame
flange itself. I let it set -- apparently too long, about 4 hours in the
sun. When I mounted the hatch frame flange into the deck, the compound
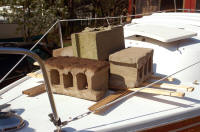
didn't compress sufficient to my liking. Since this is a one-shot
deal, I decided to take action; piling cement cinder blocks atop a
quickly-rigged wood frame distributing the weight where it was needed.
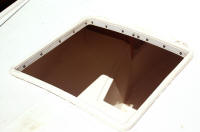
(Tell me that deck isn't solid!) The seal looks good now, and
should look better later when I fasten the hatch frame flange to the deck I
hope. (Apr. 27, 2006) |
 |
After
a day off for sailing with Wally Riddle aboard his new Alerion 28, “Rocinante,” today it was back plugging away at my hatch
project. This morning I fastened the deck and inner frame flange --
the cinder blocks seem to have worked, and the extra day yesterday
really settled the compound nicely. I removed them only after I had the
frame flange fastened from below to keep the seal good and tight. (Apr. 29, 2006) |
 |
I installed the hinges, then screwed them in
finger-tight. I'll tighten them up tomorrow once the bedding
compound cures. |
 |
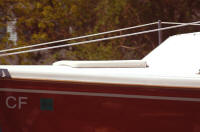
At least it's workable, but there's still some daylight
between the hatch seal and its frame. I'm going to need to add
more gasket to the hatch. |
 |
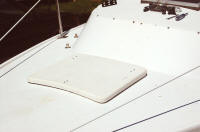
The hole is covered in time for tomorrow's late afternoon
"driving rain" that is supposed to last through mid-week. Tomorrow
morning I'll tighten down the hinge thru-bolts through the deck then start adding on
the new hardware so I can keep the lid closed. (I've got the
anchor chain just below to hang from it and hold it closed if time runs out!) |
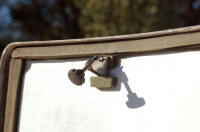 |
The hatch dog that came with the hatch from Dennis
Slaton. |
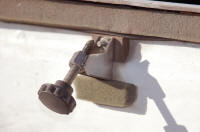 |
It would work perfectly, if I can figure out what it uses
as a stop on the hatch frame flange. |
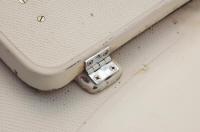 |
The port hatch hinge, tightened. |
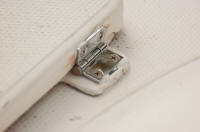 |
The starboard hatch hinge, tightened. |
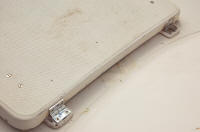 |
The hatch hinges installed. (See
old hinges) |
|
Back to Page 1
|
NEXT |
Page 3
| Page 4
| Page 5 |
|
Moving on
with Season 2006 improvements |
|
It's never-ending ...
but spring is coming and Sailing Season '06 is ahead |