|
The never-ending project to fill my hole in
the ocean while bailing it out
Preparing for Sailing Season '06
The Forward Hatch Project
|
| Click
thumbnails for a larger picture |
Description |
 |
Chip Ahoy has never had a forward hatch, something I've
sorely missed from time to time for a few reasons. The first is
ventilation, of course: without a forward hatch, the only
ventilation comes from the
Nicro solar-powered
vent I added toward the bow, and the
louvered vent I later added
to the cribboards, minimum at best. I've never been satisfied with air
circulation, especially during warm nights or hot days aboard. The
second is the sometimes feeling of claustrophobia in the cabin, with
only the companionway hatch open Before I got the
roller-furler system, it would
have been handy for passing out the headsails from below, and there's
always the safety factor of having a second escape route if necessary.
(Jan. 10, 2006) |
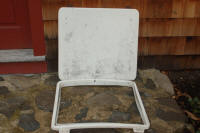 |
So for one of my 2006 projects, I've decided to install
one. Of course the first order of business in this project was to
get my hands on a hatch, preferably off another Catalina 22 of the same
vintage. Dennis Slaton ("Tar Baby") came through via the
discussion group with one from his spare parts inventory which arrived
recently, for just the cost of shipping from Georgia. |
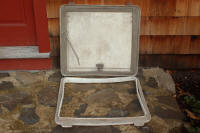 |
Dennis's hatch appears to be in great
shape and complete including the deck frame flange, exactly what I was hoping
for. I'll be able to use the
flange as a perfect template to cut out the hole in the deck. |
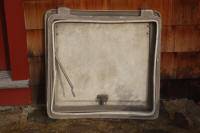 |
The next step in my plan is to cut a hole in the hatch
cover itself and replace the fiberglass with a piece of Lexan to allow
light into the cabin when the hatch is closed and dogged. |
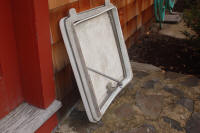 |
Everything I'll need seems to be there: hatch,
flange, gaskets, spring, latch, and hinges. |
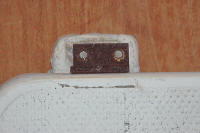 |
The hinges are there, but rusty. I'll replace
those easily enough. (Jan. 10, 2006) |
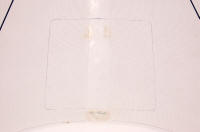 |
With the winches
project completed and behind me, I'm moving on next with installing the
forward hatch. I removed the old Danforth anchor chocks and filled their
holes last weekend. Today, after lots of measuring and comparing "Chip Ahoy"
with the forward hatch on Wally Riddle's 1980 "Carpe Diem" (how
fortunate that it's alongside in my yard), I used my hatch frame flange insert
as a template on the deck to mark where
the hole will be cut. This is still intimidating: I'm about to cut
into a perfectly good deck. For the occasion, I bought a new
narrow scrolling blade for my saber saw, so I can round those corners
cleanly. (Apr. 20, 2006) |
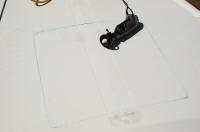 |
Picking up where I left off (above), today was the day
to do the deed, cut the hole in fhe perfectly good deck. Having
received good advice from the discussion group and having accumulated the
necessary tools (like the Dremel tool in the photo) and parts -- and with two to three days of good
weather forecast, I set out this morning on the task. (Apr. 26,
2006) |
 |
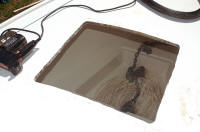
After re-measuring about a dozen
times, I finally gritted my teeth, held my breath, and scored the hole using the Dremel tool (to keep the
deck fiberglass and gelcoat from chipping or splintering). Then I went at the hole,
the plywood core beneath, with my saber saw and its the new scrolling blade. I duct-taped the straight cuts from below
as I went along, so the cut-out piece of the deck didn't come crashing
in, ripping cabin fiberglass on the final straight cut. |
 |
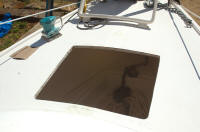
With the cutout piece from the deck
cleanly removed, next I sanded the
edges of the hole with a hand-sander to get them as smooth as possible; used the Dremel tool's
grinding wheel to get the curved corners to fit the frame near-perfectly.
|
 |
Finally, I soaked the raw edges with West System
epoxy, to keep that perfect deck perfectly watertight in the days ahead
after the project was complete. |
 |
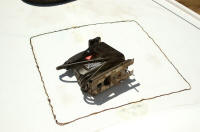
The cutout piece of deck, removed -- a
half-inch plywood core. I was gratified to find that the deck's
plywood core was still in excellent condition. |
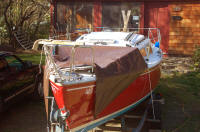 |
Just to be safe, I covered the bow and deck with my "pup
tent" tarp while the epoxy cured and until I can get back to the job
tomorrow. |
|
Next
| Page 3
| Page 4 |
Page 5 |
|
Moving on
with Season 2006 improvements |
|
It's never-ending ...
but spring is coming and Sailing Season '06 is ahead |