|
|

Chip Ford's 1974 Catalina 22
Restoration Project
Sail #3282 l Marblehead, Massachusetts |
|
The never-ending project to fill my hole in
the ocean while bailing it out
Preparing for Sailing Season 2013
The Forward Hatch Project,
Revisited
—
Again
– Page 5 –
|
| Click
thumbnails for a larger picture |
Description |
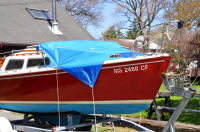 |
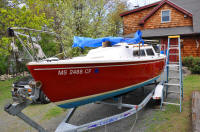
I got
Chip Ahoy uncovered last
weekend. This year's big project is again trying to reseal the
forward hatch — last year's effort wasn't
successful enough. This year I'll remove the entire hatch and flanges and recaulk it
from scratch. I've got to find and seal that leak or leaks!
We've had a stretch of dry but unseasonably cool weather
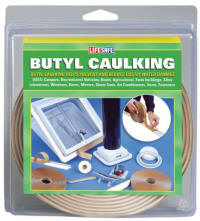
for weeks. Today I wanted to get started on the project, but I'm waiting for arrival of the butyl caulking tape I recently
ordered. The weather forecast is for heavy rain on Wednesday through
Thursday. Since I'll be cutting this real close —
could be caught with an open hatch
— I figured I'd better have a backup plan.
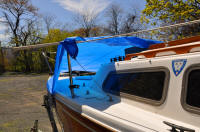
I fastened a length of PVC pipe I had on hand over the life
lines and forward stanchions, bowed it using the mast step and a scrap
piece of 2X6. Then I stretched a small tarp I had handy over the pipe
and forward deck. I secured its five forward grommets with bungie cords,
tied off the rear three with cord; I can free the bungie cords
and roll the tarp back easily. Now I can remove the hatch and its
flanges and hope the butyl tapes arrives before the downpours. I'll remove
the hatch and frame tomorrow and hope to get it back together tight
before the rain, but I'm ready as possible if I can't. (May 5,
2013) |
DETAILS &
SPECS
Also see:
Bedding Deck Hardware
With Butyl Tape
By Maine Sail |
 |
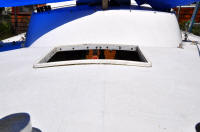 |
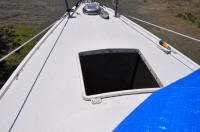
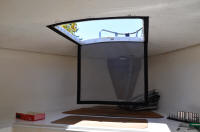
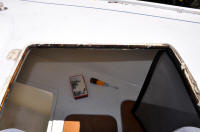
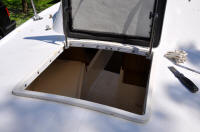
This morning I began removing the hatch and its frame, curious about what I'd find.
It all came apart easier than I'd expected; no broken parts. The
hatch itself came off with removal of its hinges and hatch adjusters.
Even the fragile adjusters
came off without breaking, my greatest concern.
While removing the inner frame flange I noted a couple of the wood
screws seemed a bit loose, but with them and the hatch dog catch all
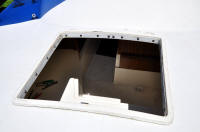
removed, it came off easily. Once removed it, I could inspect the
plywood deck core. Overall it's still in good shape, dry. When I first
cut the hole "in a perfectly good deck" in 2006, I soaked the deck
core's bare plywood edges with epoxy —
which seems to have been very worthwhile.
I noted that three screws that go through the inner flange, one a screw
that holds the starboard side adjuster, grooved the top of the plywood
core or missed it entirely. Instead, they threaded at the core's top
edge or just above it into the bottom of the fiberglass deck. That's
going to happen again when I reinstall —
the holes in the flange are where they are —
but structurally, both flanges have been solid to the deck, and they're
not the leak's point of origin.
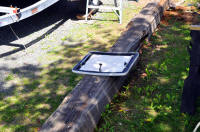
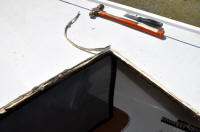
The outer deck flange came off with a little effort using just the rigid putty
knife and some prying; didn't need to use the hammer except as a
fulcrum.Once the deck was
clear I went to work with the putty knife, clearing away the hardened old
3M 4200 caulking. I noted a few spots that might have, possibly could
have been the source of the leak — but
nothing really jumped out as an obvious source. Not surprising, as the
leak wasn't substantial, though it had gone from a mere annoyance to a
growing nuisance — my primary concern was
what the leaking water was doing to the plywood deck core.
The core still looks well-preserved thanks to the epoxy bath I gave to
its exposed edges. Even the screw holes appear to be in good condition.
I finished cleaning up with a wire brush, a bristle hand brush, then a
good acetone wipe down.
Tomorrow morning I'll clean up the flanges and hatch, get ready to
reinstall as soon as the butyl caulking tape arrives. UPS promises
delivery by early tomorrow afternoon. Heavy rain is still in Wednesday's
forecast. Beating it is going to be a close call. (May 6, 2013) |
 |
 |
 |
 |
 |
 |
 |
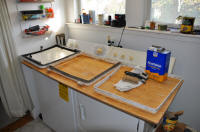 |
I got started early with
cleaning up the hatch parts while waiting for the UPS delivery. As long
as I had it off, I cleaned the hatch lid, polished its adjusters, oiled
the hinges and dog screw, and scrapped off the old bedding compound. I
cleaned up the vinyl inner flange with
Mold Armor
as the discoloration and dirt seemed to be mostly mold. (This "mildew
stain remover plus blocker" will be useful in application elsewhere
aboard.)
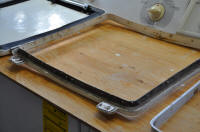
The outer flange was my
focus. I scraped off the old bedding compound, wire-brushed it clean,
then wiped it down a few times with acetone. I found a slight crack in
one of the hinge seat ears, so mixed up some West System epoxy and filled
the crack. The leftover epoxy was there so I filled a few small
holes and a couple of shallow cavities.
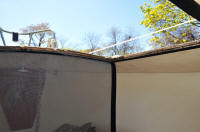
UPS didn't deliver the butyl
tape until almost 6 pm, about half an hour after I'd given up on
"one-day delivery" happening today. I'd just laid a second
tarp over the open hole, recovered the boat for the coming rain
tomorrow, since I didn't have time to get this project completed today. (May 7, 2013) |
 |
 |
 |
 |
The sky was gray and overcast when I awoke this morning,
but the weather forecast indicated that I might have until around noon
before the rain arrived — I still
just might be able to pull this off in time, and if not I had
nothing to lose, could quickly recover the hole in the deck.
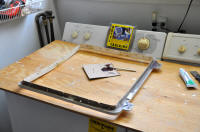
I applied the butyl caulking tape to the bottom of the
outer flange on my laundry room makeshift workshop table, uncovered the boat and tried
the flange for a fit. The 1/16" thickness of the caulking on the
flange wasn't enough, so I
applied a second layer directly to the deck around the hole. Once I
pulled off the backing on both caulking faces I had only one shot at dropping
the flange into the hole in the deck perfectly so all the holes lined up.
If I missed, I'd have a mess — but got lucky. But now the double layer of butyl caulking was
too thick for the opposing holes in the plywood deck core and
flange to line up. Meanwhile, the sun broke out for the remainder of the
project!
Improvising,
I used four C-clamps to squeeze the flange and
deck together enough to line up the holes, which forced a considerable
amount of caulking to sandwich out. One by one I fastened the screws
through the inner and outer flanges and into the deck core plywood,
gradually moving the clamps (to keep the screws from stripping out).
When done, with all that excess caulking uniformly surrounding the
flange, I'm confident it won't be leaking again any time soon! Since
butyl caulking remains relatively soft and flexible, never "curing" like
bedding compound, when the rain stops I'll trim
off the excess with a razor knife and putty knife.
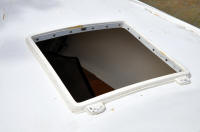
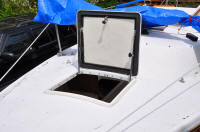
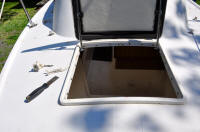
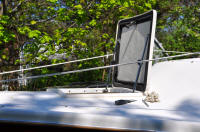
The final step, mounting the hatch, went
smoothly; I was done by noon as the sky was darkening. I dogged it down
and the project was completed. I left the tarp setup there but rolled
up, the deck open to the elements. The rain showers began an hour later. As I
write this in the late evening it's pouring out with flashes of
lightening and thunder. This will provide
a great test of my effectiveness. I'll be shocked tomorrow when the rain
stops if a
drop of water gets through that hatch — but
Lord knows, I've been disappointed before with this project. (May 8, 2013) |
 |
 |
 |
 |
 |
 |
|
 |
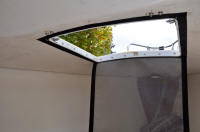
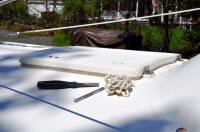
During a
break in yesterday's showers and downpours, I went out and checked the
cabin beneath the hatch — and found it bone dry. Not a drop of water had
gotten through.
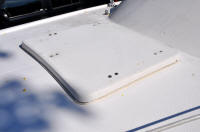
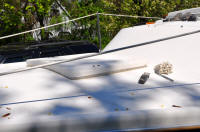
This morning
the sun returned. I got out early with Exacto and
putty knives. I carefully sliced into the butyl caulking with the Exacto
knife down to the deck along the edge of the outer flange. Then I used
the rigid putty knife to separate the soft and tacky caulking from
the flange and deck, pulled it off in strips, lifting it off the deck
with the putty knife. (Butyl caulking never hardens, remains pliable.)
Project
successfully completed. (May 10, 2013) |
 |
 |
 |
 |
 |
 |
|
Page 1
|
Page 2
|
Page 3
| Back to Page 4 |
|
See:
Replacing the butt hinges (2015) |
|
Moving on
with Season 2013 improvements |
|
It's never-ending ...
but spring is here and Sailing Season '13 is ahead |
|

|